


Podcast Interviews for Authors
Podcast Interviews for Authors
Does It Sell More Books???

Full disclosure: Some outbound links are part of an affiliate program where I’m compensated for any sales. Thanks for your understanding and support!
Podcast Interviews for Authors
Over the past decade, I've been on dozens of podcasts that have hundreds of thousands of downloads through various platforms. I've had the pleasure of connecting with many great podcast hosts and have seen quite the payoff over the past few years. Most times, I appeared on the podcast to share my enthusiasm and insights in self-publishing.
To be clear, getting podcast interviews won't get meaningful results immediately in book sales, unless you're fortunate enough to land a spot on the Joe Rogan Experience. Appearing on podcasts accomplishes one thing—increase visibility.
I've said it many times before, so I'll say it one more time for emphasis—marketing and promotion is about making yourself more visible. Rather than leaning solely on your following to reach more readers, you can leverage the reach of podcasts. Somebody else took the time to start, grow, and nurture a following of listeners. Heck, they even have to worry about production and distribution. All you have to do is show up and do what you do best—be yourself.
But where do you start? And what do you do once you arrive? This is going to require some deeper insights and practical tips.
The Necessities of Podcasting
To fully prepare for podcasting, you will need a few items. Remember, not all podcasts are strictly audio. Some hosts leverage video platforms like YouTube or Spotify for additional distribution and reach. Let's start out with the absolute bare minimum you'll need:
● Internet access
● A mic
Plug into your internet to get the cleanest sound. Avoid relying on Wi-Fi because it is unreliable. If all you have is a mobile phone to attend an interview, then Wi-Fi will have to work. If you can help it, use a desktop or laptop so you can give the best quality possible.
Most laptops come pre-installed with an onboard mic, but don't expect to get the highest quality from them. Very few desktop computers come with an onboard mic, but if you have a webcam, chances are likely, it has an onboard mic.
As you would guess, onboard mics don't give the greatest quality, so when you have the budget, invest in a decent USB microphone. Blue Microphones, Rode, and Movo put out decent quality mics on a budget.
Just be extra diligent when looking up options because it can get pricey. For instance, my current setup is a Shure SM7B mounted on a Gator Frameworks Deluxe mic boom. This condenser microphone is fairly iconic in the podcaster and YouTuber space, having been center stage for years on many popular platforms. The boom I have comes with an XLR cord I plug into the Cloud CL-1 Mic Activator. This little box boosts the signal without raising the noise floor.

Quick aside on two notes here:
1. People often choose an XLR cable over a USB cable for mics because it has a balanced line connection and can carry higher-quality audio signals over longer distances. XLR cables reduce interference and provide better noise rejection, making them ideal for professional audio applications. In contrast, USB cables are designed for shorter connections and can easily pick up interference, potentially degrading the signal.
2. The "noise floor" refers to the level of background noise or unwanted signals in an audio system or recording. It's the baseline level of noise that's always present, even when no audio signal is being amplified or recorded. A lower noise floor indicates less background noise, while a higher noise floor can lead to unwanted interference and reduced audio quality. It's an important consideration in audio production and can affect the clarity and fidelity of recorded sound.
Should you stress about getting an XLR-equipped microphone if you're starting out? No. If you have the expense and plan to use it for other projects beyond an occasional interview, then you're certainly future proofing yourself.

Next in my setup is the Zoom H6 Audio Interface. I bought this unit because I wanted to have something mobile, in case of remote interviews at conferences. Have I ever used it for remote work? Not really. Beyond my videos, podcasts, and personal music hobby, I don't use it to its fullest extent. It does provide a 48V phantom power signal through any of the four inputs.
Some mics or mic accessories require a little juice, so watch out for any tech requiring phantom power to work. My mic activator needs it while my Shure mic does not.
My audio setup costs about $930. That’s probably not a price tag most authors should be shooting for. Since I use my equipment for more than interviews, it’s a justifiable expense. Also, it took me years to acquire all this gear. I didn’t buy it all at once, just one part at a time.
For Video Podcasts
Before you plunk down any money on a camera, I'll encourage you to use what you have at your disposal now. Quite a few new phones have FAR better cameras than they used to be. I've interviewed quite a few folks who used their iPhone 12 and up while still looking and sounding great!
If you must buy a camera, but lack the cash, look into any Logitech webcam. The Logitech StreamCam is about $120. If you want to go even cheaper, browse their catalog for other options. I have the Logitech BRIO and C920. The BRIO is dookie for the price, but I make it work. The C920 is more reliable, providing clean and clear video. As mentioned previously, most onboard mics on webcams don't sound great, so don't rely on that.

To make the most of your camera, position yourself in a room with plenty of lighting. No one wants to talk to a cave-dwelling recluse. The light needs to be brighter in front of you while remaining subtle behind you. Avoid putting your back to the light because it'll wash out the image.
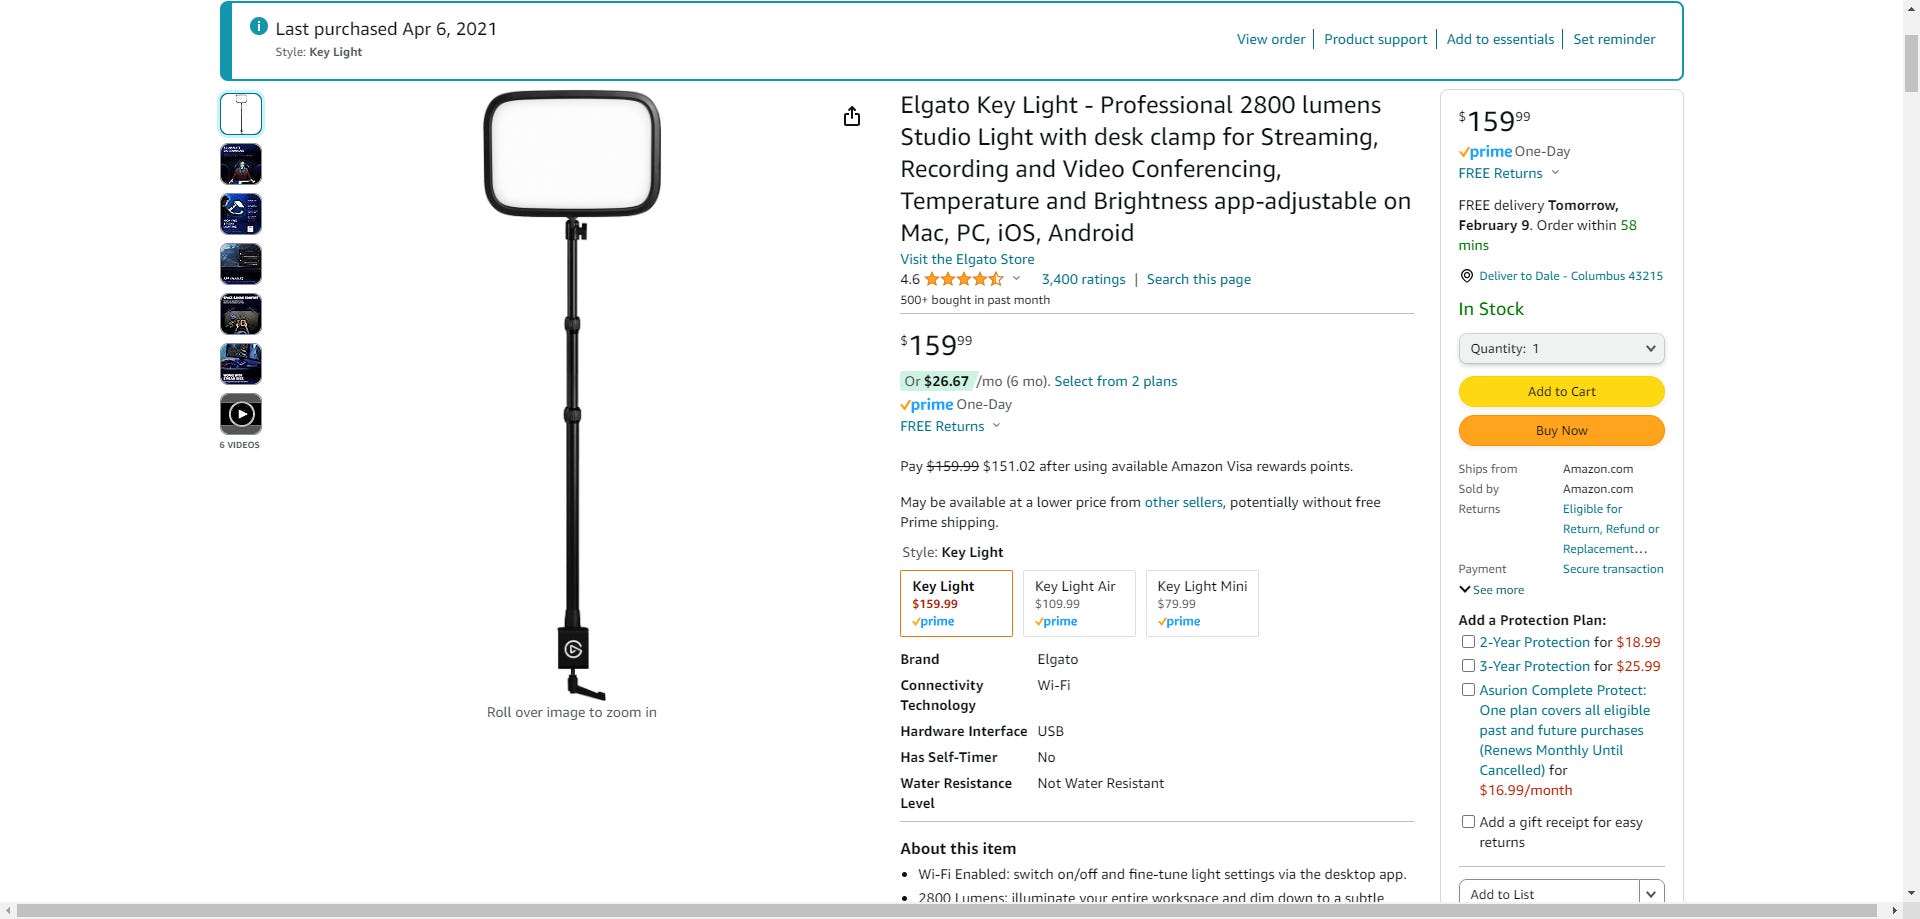
Anyone with a budget can look into some cheap LED lights. You can find many on Amazon for $10-$15. It doesn't have to be fancy, but splurge if you want to get more intricate tech. I have two Elgato Key Lights mounted on my desk that I can control on my phone and desktop.
And just a friendly brief side note: keep your background organized and clean. No one wants to see your dirty pile of laundry or hoard of boxes filled with important papers. While we're talking about it, skip the auto-blurred background feature to cover up your mess. Just clean up your stuff. It really shouldn’t take long. Or at least position yourself in a way that no one sees your mess. The cinematic look is nice when it's done naturally, but as a filter, it is distracting and takes away from you having the spotlight.
Keep reading with a 7-day free trial
Subscribe to Self-Publishing with Dale to keep reading this post and get 7 days of free access to the full post archives.